
Is your toilet constantly running or dripping? A leaky toilet can not only be annoying with its persistent sound but can also lead to water wastage and possibly higher utility bills. The good news is that fixing a leaky toilet is a common household repair that you can easily tackle yourself without having to call a plumber. In this guide, we'll walk you through some simple and effective tips to help you resolve the issue and restore peace to your bathroom.
Materials You'll Need:
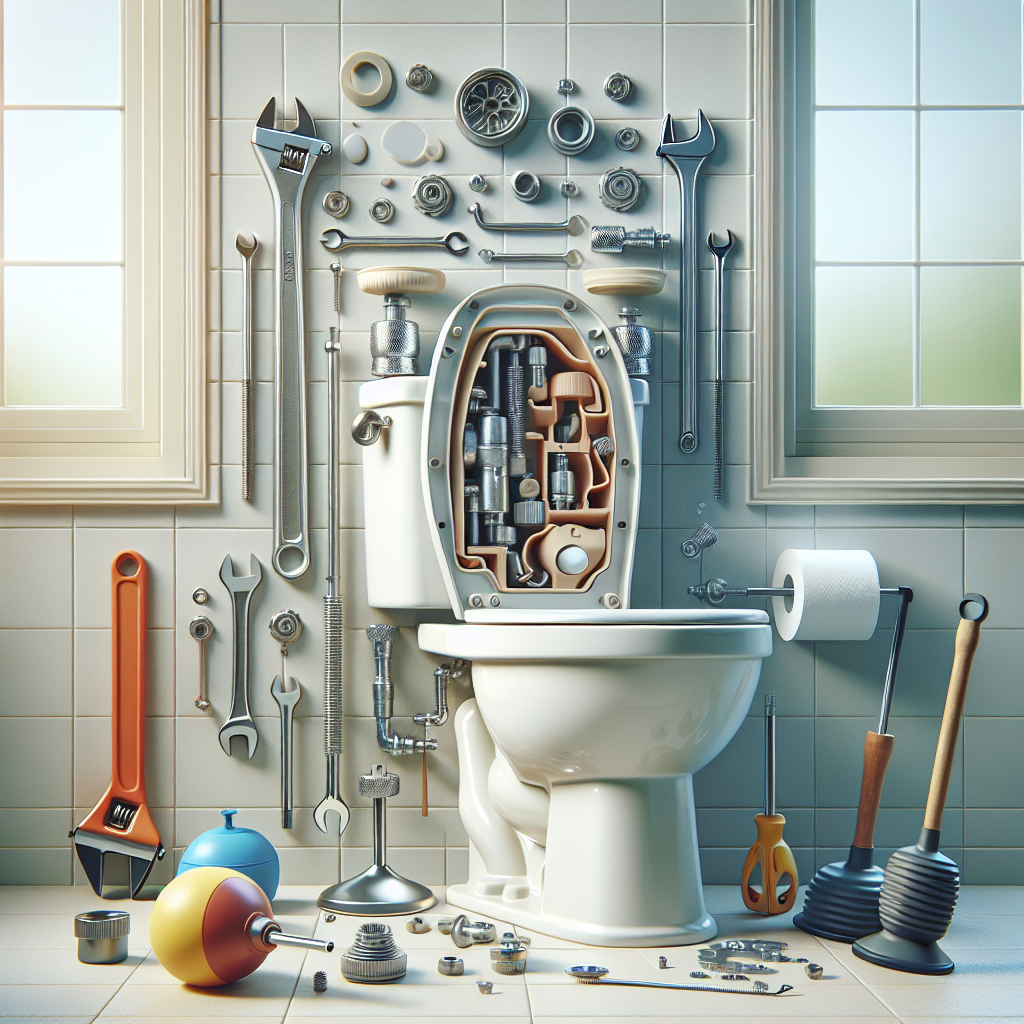
Adjustable wrench
Screwdriver
Replacement parts (flapper, fill valve, tank-to-bowl gasket)
Rubber gloves
Towel
Step 1: Identify the Problem
The first step in fixing any toilet issue is identifying the source of the leak. Common causes of a leaky toilet include a faulty flapper, worn-out fill valve, or a loose tank-to-bowl connection. Once you've pinpointed the problem, you can proceed with the necessary repair.
Step 2: Turn Off the Water Supply
Before you start working on your toilet, make sure to turn off the water supply to avoid any unexpected leaks. You can usually find the shut-off valve located behind or beside the toilet. Flush the toilet to remove excess water from the tank.
Step 3: Replace the Flush Valve
A worn or defective flush valve is a frequent culprit behind a leaking toilet. Remove the tank lid and locate the valve housed in the centre of the tank. Disconnect the valve by twisting and replace it with a new one of the same size and shape. Ensure a tight seal to prevent future leaks.
Step 4: Check the Fill Valve
A malfunctioning fill valve can also cause water to continuously run into the toilet bowl. Inspect the fill valve for any signs of damage or debris that may be affecting its performance. If necessary, replace the fill valve with a new one to stop the leak.
Step 5: Inspect the Tank-to-Bowl Connection
A loose or deteriorated tank-to-bowl gasket can result in water leaking onto the floor around the base of the toilet. Carefully inspect the gasket for any wear or damage and tighten the bolts connecting the tank to the bowl. If the gasket is worn out, replace it with a new one to prevent further leaks.
Step 6: Turn On the Water Supply and Test
After completing the repairs, turn on the water supply and allow the tank to fill up. Flush the toilet to check for any remaining leaks. Tighten connections if needed and ensure that the toilet is functioning properly without any signs of leakage.
Conclusion
By following these simple steps, you can successfully fix a leaky toilet and eliminate the inconvenience of a constantly running or dripping toilet. Remember, regular maintenance and timely repairs can help you avoid more significant issues down the line. With a few basic tools and a little DIY spirit, you can tackle toilet repairs with confidence and keep your bathroom in top condition.
Don't let a leaky toilet disrupt your peace and quiet. Take control of the situation and address the issue promptly to enjoy a fully functional and leak-free toilet once again.
Comments